
Gaming Console Repair Guide for Common Failures
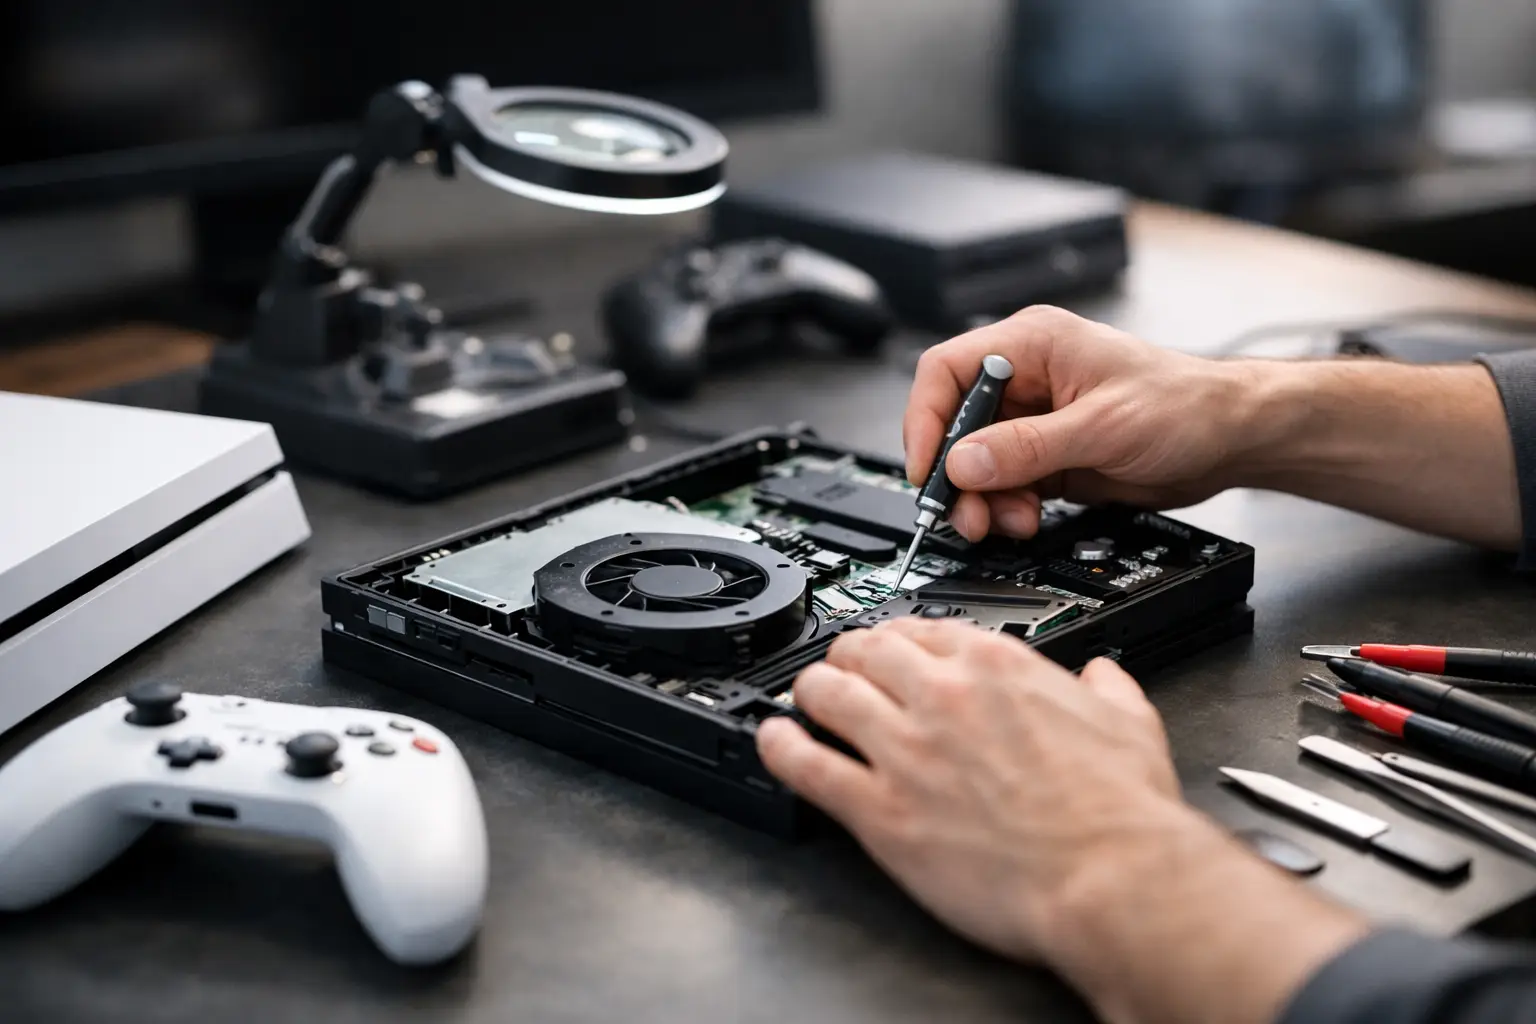
A console that turns on but shows no picture can ruin a game night fast. The same goes for a PlayStation that shuts down after 20 minutes, an Xbox with a loose HDMI connection, or a Nintendo Switch that will not charge. This gaming console repair guide helps you separate simple checks from problems that need professional diagnostics, so you do not spend money on the wrong fix or cause more damage trying to force one.
Start With the Symptom, Not the Assumed Repair
Many console problems look alike from the outside. A black screen might be a bad HDMI cable, a damaged port, a failing HDMI encoder chip, or a TV input issue. A console that will not power on may have a bad outlet, damaged power supply, liquid corrosion, a shorted component, or a motherboard fault.
Before opening the device, take a few minutes to narrow down what changed. Did the console fall? Did it stop working after a power surge? Does it get unusually hot? Was there liquid nearby? Does the problem happen with more than one game, cable, controller, or display?
That information matters because it points the repair in the right direction. Replacing an HDMI port will not fix a motherboard-level video fault. Cleaning a fan will not solve a failing power rail. Good repair starts with diagnosis, not parts swapping.
Safe Checks to Make Before a Repair
Start with the basics that do not put the console at risk. Test the power cable in a known-good outlet and try a different HDMI cable if you have one. Connect the console to another TV or monitor, and make sure the display is set to the correct input.
For a console with no image, inspect the HDMI port with a flashlight. Bent pins, a loose center tab, or a port that moves when the cable is inserted are signs of physical damage. Do not keep pushing or wiggling the cable to get a picture. That can tear pads from the board and turn a straightforward port repair into a more involved board repair.
If a controller will not connect or charge, test it with another USB cable and another USB port. A controller battery may be worn out, but a loose console USB port or charging circuit can create the same symptom.
When a system is overheating, place it on a hard, open surface and remove dust around the exterior vents. Avoid using compressed air aggressively through the vents. It can push dust deeper into the heatsink or make the fan spin beyond its normal speed. If the console still reports overheating, gets loud immediately, or shuts down during play, it needs internal inspection.
Back Up Data When the Console Still Boots
If your console starts and allows access to settings, back up saved data before attempting resets, storage replacement, or software recovery. Cloud saves can help, but they are not always current or available for every account and game.
A failing internal drive may cause slow loading, game crashes, error codes, or repeated repair database messages. In some cases, replacing the drive and reinstalling system software solves the issue. In others, the storage problem is only a symptom of a deeper motherboard fault. Preserving data first gives you more options.
Common Gaming Console Problems and What They Usually Mean
No Display or Intermittent HDMI Signal
A damaged HDMI port is common on PlayStation and Xbox systems, especially if the cable was pulled at an angle or the console was moved while connected. Signs include a loose cable fit, visible port damage, a flickering image, or a display that cuts out when the cable moves.
A clean HDMI port replacement requires more than heating the old port and installing a new one. The technician needs to inspect the pads, anchors, traces, filters, and surrounding components. If the port looks intact but there is still no signal, board-level diagnostics may be needed to test the HDMI circuit and related ICs.
Console Will Not Turn On
First, rule out the power cable and outlet. If the console makes a click, flashes a light, powers on briefly, or stays completely dead, document exactly what it does. Those details help isolate whether the issue is tied to the power supply, a front-panel circuit, a short, or a failed component on the motherboard.
Do not repeatedly attempt to power on a console that smells burnt, becomes hot while off, or had liquid exposure. Continued power can worsen corrosion or damage components that might otherwise be repairable.
Overheating, Fan Noise, and Shutdowns
Dust buildup is one cause of overheating, but it is not the only one. A fan can fail, thermal material can degrade, a heatsink can lose proper contact, or a sensor and power-management issue can trigger shutdowns.
Older consoles may benefit from internal cleaning and new thermal material, but this is not a universal cure. If a console overheats right after a cleaning or has already been serviced unsuccessfully, the problem may require more detailed testing. Forcing the system to run through shutdown warnings risks damage to the processor and board.
USB Ports, Charging, and Controller Issues
Broken USB ports are often mechanical failures. A port may look fine but have lifted pins, cracked solder joints, or damage beneath the connector. Charging faults can also involve the cable, battery, charging board, port, or motherboard circuit.
For wireless controller problems, check whether the issue follows one controller or affects every controller. One unreliable controller often points to its own battery, stick module, charging port, or internal board. Multiple controllers failing to pair can point back to the console's wireless or USB system.
Liquid Damage
Liquid damage is unpredictable because the visible spill is rarely the full story. Moisture can travel under shields, connectors, chips, and components, then cause corrosion days or weeks later. Rice does not remove residue, and heat without proper cleaning can make the situation worse.
If liquid reaches a console, disconnect power immediately and do not charge or turn it on. A professional inspection can identify corrosion, shorts, damaged connectors, and affected circuits before a small spill becomes a complete board failure.
When DIY Repair Makes Sense - and When It Does Not
Simple external troubleshooting makes sense for most owners. Replacing a cable, cleaning exterior vents, updating system software, or testing another display are reasonable first steps.
Opening the console is different. Modern gaming systems use delicate ribbon cables, tight-fit connectors, security screws, thermal assemblies, and densely packed boards. A torn cable, stripped screw, damaged connector, or missing thermal pad can create a new problem while you are chasing the old one.
DIY work can be reasonable if you have the correct tools, repair experience, and a clear diagnosis. It is a poor trade-off when the console has no power, no HDMI output after a port inspection, liquid damage, board corrosion, repeated overheating, or a problem that returned after another repair. Those are cases where microsoldering equipment, schematics knowledge, and measured electrical testing can save a board that basic parts replacement cannot.
What a Proper Console Repair Should Include
A reliable repair is more than installing a part. The console should be inspected for the reason the part failed, tested before and after service, and checked under normal use. For HDMI work, that means confirming stable video output rather than simply seeing one image appear. For overheating, it means testing temperatures and fan behavior during operation. For charging repairs, it means verifying stable power at the port and normal charging behavior.
Ask whether the shop performs the work in-house and whether it handles board-level issues when a port, power, or display problem is not limited to a replaceable part. A shop that can diagnose shorts, damaged traces, failed ICs, and power rails can give you a clearer answer than one that only replaces assemblies.
At EPElectrocenter, gaming console repairs are performed in-store, with walk-ins welcome and a free initial evaluation. That gives El Paso customers a practical starting point whether the problem is a damaged HDMI port, charging failure, overheating console, liquid exposure, or a more complex motherboard issue.
Bring the Right Information to the Repair Counter
You do not need technical vocabulary to get a good diagnosis. Bring the console, its power cable, and the controller or accessory involved if it is part of the issue. If the issue only happens with a certain game, display, or cable, bring that information too.
Explain what happened immediately before the failure and whether anyone has already opened or repaired the console. Be direct about drops, liquid, previous repair attempts, or power events. Those details are not a reason to judge the device. They help avoid wasted time and help the technician test the right areas first.
A console is worth repairing when the diagnosis supports it and the repair restores dependable use. Start with safe checks, stop before force becomes damage, and get a clear evaluation when the problem points beyond a cable or setting.