
How to Clean a Charging Port Without Damage
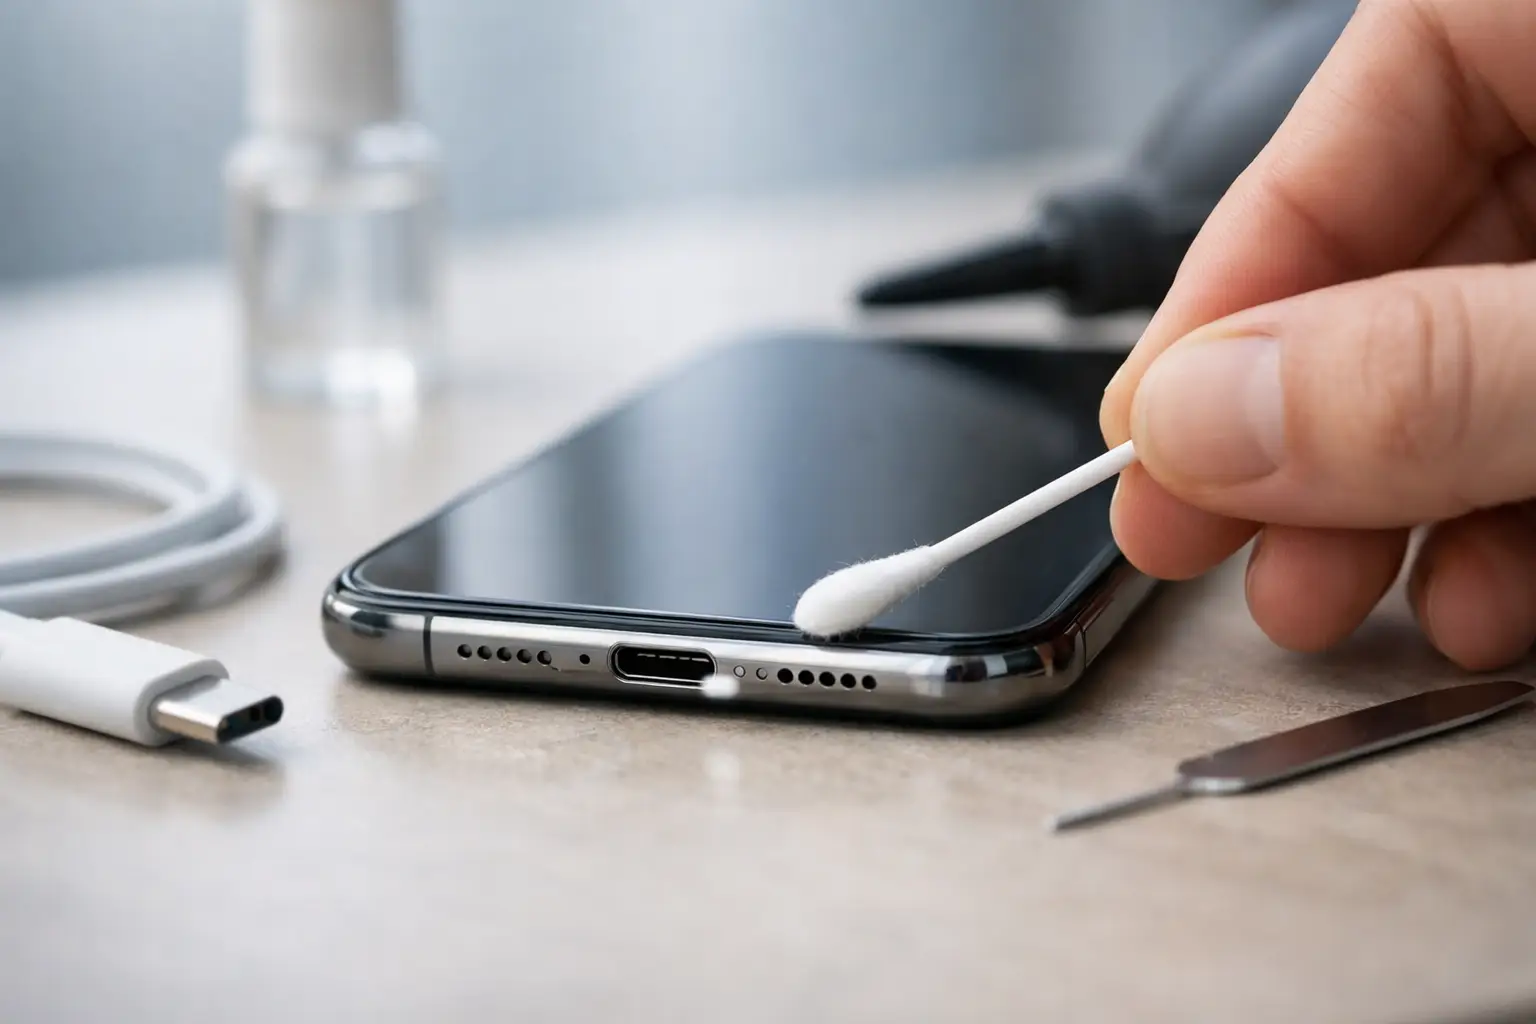
A phone that only charges at a certain angle is often not dealing with a bad cable. The connector may be blocked by compacted pocket lint, dust, or debris sitting at the bottom of the port. If you are searching for how to clean charging port problems safely, the goal is simple: remove loose debris without bending the internal contacts, forcing moisture deeper inside, or turning a minor issue into a port repair.
Charging ports are small, fragile, and different from one device to the next. A careful cleaning can restore a solid cable connection. It cannot fix worn contacts, corrosion, a broken center pin, or damage on the charging circuit. Knowing the difference can save time and prevent unnecessary repairs.
Start by Confirming It Is a Port Problem
Before putting anything near the port, test the easy possibilities. Try a known-good charging cable and power adapter. If possible, test that cable on another device. A frayed cable, weak wall adapter, or damaged USB connector can create the same symptoms as a dirty port.
Next, look at how the cable fits. A clean, healthy connector should insert fully and feel secure. If it stops short, wiggles excessively, or slips out with little resistance, debris may be packed into the port. Lint commonly compresses into a dense layer at the bottom, especially on phones carried in pockets, backpacks, or work bags.
If your device charges wirelessly but not by cable, the charging port is more likely to be involved. That said, wireless charging working does not prove the port only needs cleaning. The physical port or its internal connection can still be damaged.
How to Clean a Charging Port Safely
Turn the device completely off before cleaning. Disconnect it from power, remove any case that blocks access, and work under a bright light. A flashlight can help you see debris near the opening, but avoid pushing a light or tool into the port without a clear view of where it is going.
Use a dry, non-metal tool with a fine tip, such as a plastic pick designed for electronics or a clean wooden toothpick. Work slowly around the edges of the port, using very light pressure to loosen lint. Do not jab straight down into the bottom of the port. The contacts are delicate, and a hard push can bend or scrape them.
Once debris is loosened, hold the device with the port facing downward and let particles fall out. A hand-operated air blower can help remove loose dust, but use it gently and from a short distance. Recheck the port with light, then test the cable again after the device is fully dry and clear.
For many phones, this careful approach is enough to remove packed lint. For laptops, tablets, gaming handhelds, and devices with USB-C ports, use extra caution. USB-C has a center tongue with contacts on both sides. Damaging that center piece can turn a cleaning job into a charging port replacement.
What Not to Put in the Port
Avoid metal needles, paper clips, safety pins, tweezers, and SIM tools. They can scratch contacts, short electrical points, or bend the connector. Do not use excessive force just because the debris is stubborn.
Skip liquids, household cleaners, and sprays. Water, glass cleaner, rubbing alcohol applied directly into the port, and contact cleaners can leave residue or push contaminants farther inside. Even isopropyl alcohol, while useful in controlled repair work, is not a first-choice home solution for a port that simply has lint in it.
Do not blast the port with high-pressure compressed air. The pressure can damage internal parts, drive debris deeper into the device, or introduce moisture from the can. Vacuum attachments are also risky if they create static or catch the port’s center tab.
Why a Cable May Still Feel Loose After Cleaning
If debris is gone but the cable still does not seat properly, the port may have physical damage. Repeated side pressure on a plugged-in cable, drops, rough removal, and low-quality connectors can wear down internal retention points. A cable may also fit loosely because its own plug is worn or out of spec.
On Lightning ports, damaged or worn contact surfaces can cause intermittent charging, accessory errors, or charging that starts and stops. On USB-C ports, a bent center tongue, damaged pins, or a loose port assembly can prevent charging, data transfer, video output, or fast charging. Laptop charging ports may have separate DC jacks, USB-C power delivery circuits, or board-level faults that need more than a visual inspection.
A port can look clean and still fail electrically. If the device shows no charging symbol, gets hot while charging, repeatedly connects and disconnects, or only charges with one specific cable position, cleaning may not solve the root cause.
When to Stop and Get a Professional Evaluation
Stop cleaning if you see green, white, black, or rusty-looking residue. That can indicate corrosion from liquid exposure, humidity, or contamination. Cleaning the opening may improve the appearance, but corrosion can continue underneath the port or on the motherboard.
You should also stop if a connector pin looks bent, a piece of a cable is stuck inside, the port feels loose in the frame, or the device has a history of liquid damage. Do not try to straighten pins with a needle. A damaged pin can break off or short adjacent contacts.
For devices that will not power on, show a moisture warning, drain the battery unusually fast, or heat up around the charging area, a deeper diagnostic is the safer next step. The problem could involve the battery, charging IC, power rail, USB controller, or motherboard rather than the port itself.
At EPElectrocenter, all diagnostics and repairs are performed in-store. Walk-ins are welcome, and a free initial evaluation can determine whether the issue is simple debris, a damaged charging port, or a board-level charging fault. That distinction matters because replacing a port will not fix a failed charging circuit, and a proper diagnosis helps avoid paying for the wrong repair.
Keep the Port Clean Afterward
The best prevention is reducing how much lint reaches the port. Keep devices out of loose pockets when possible, especially if you carry tissues, receipts, or dusty work materials. Clean charging cables occasionally, replace connectors with visible wear, and avoid leaving a cable plugged in where it can be bumped or pulled sideways.
Port covers can help in dusty environments, but they are not necessary for everyone and can be easy to lose. For most users, checking the port when charging starts to feel loose is enough. Addressing lint early is safer than repeatedly forcing a cable into a blocked connector.
Common Questions About Charging Port Cleaning
Can I use a toothpick to clean a charging port?
A clean wooden toothpick can be safer than metal when used gently, but it still needs a light touch. Do not force it down or scrape aggressively. If the toothpick splinters, stop and have the port inspected rather than pushing fragments farther in.
Can I use rubbing alcohol in a charging port?
Do not pour or spray alcohol into a port. Professional technicians may use high-purity isopropyl alcohol in specific situations, but they do so with proper tools, inspection, and drying procedures. For ordinary lint, dry cleaning is the better first step.
Why does my phone charge only at an angle?
Compacted debris is a common cause, but not the only one. The cable connector may be worn, or the internal port contacts may be damaged. If a careful dry cleaning does not restore a firm connection, the device needs a closer inspection.
A charging port is one of the few parts of a device you use every day without thinking about it - until it fails when you need it most. Clean it carefully, do not force it, and treat persistent charging problems as a repair issue rather than something to keep working around.