
Building Your Own Gaming Computer the Smart Way
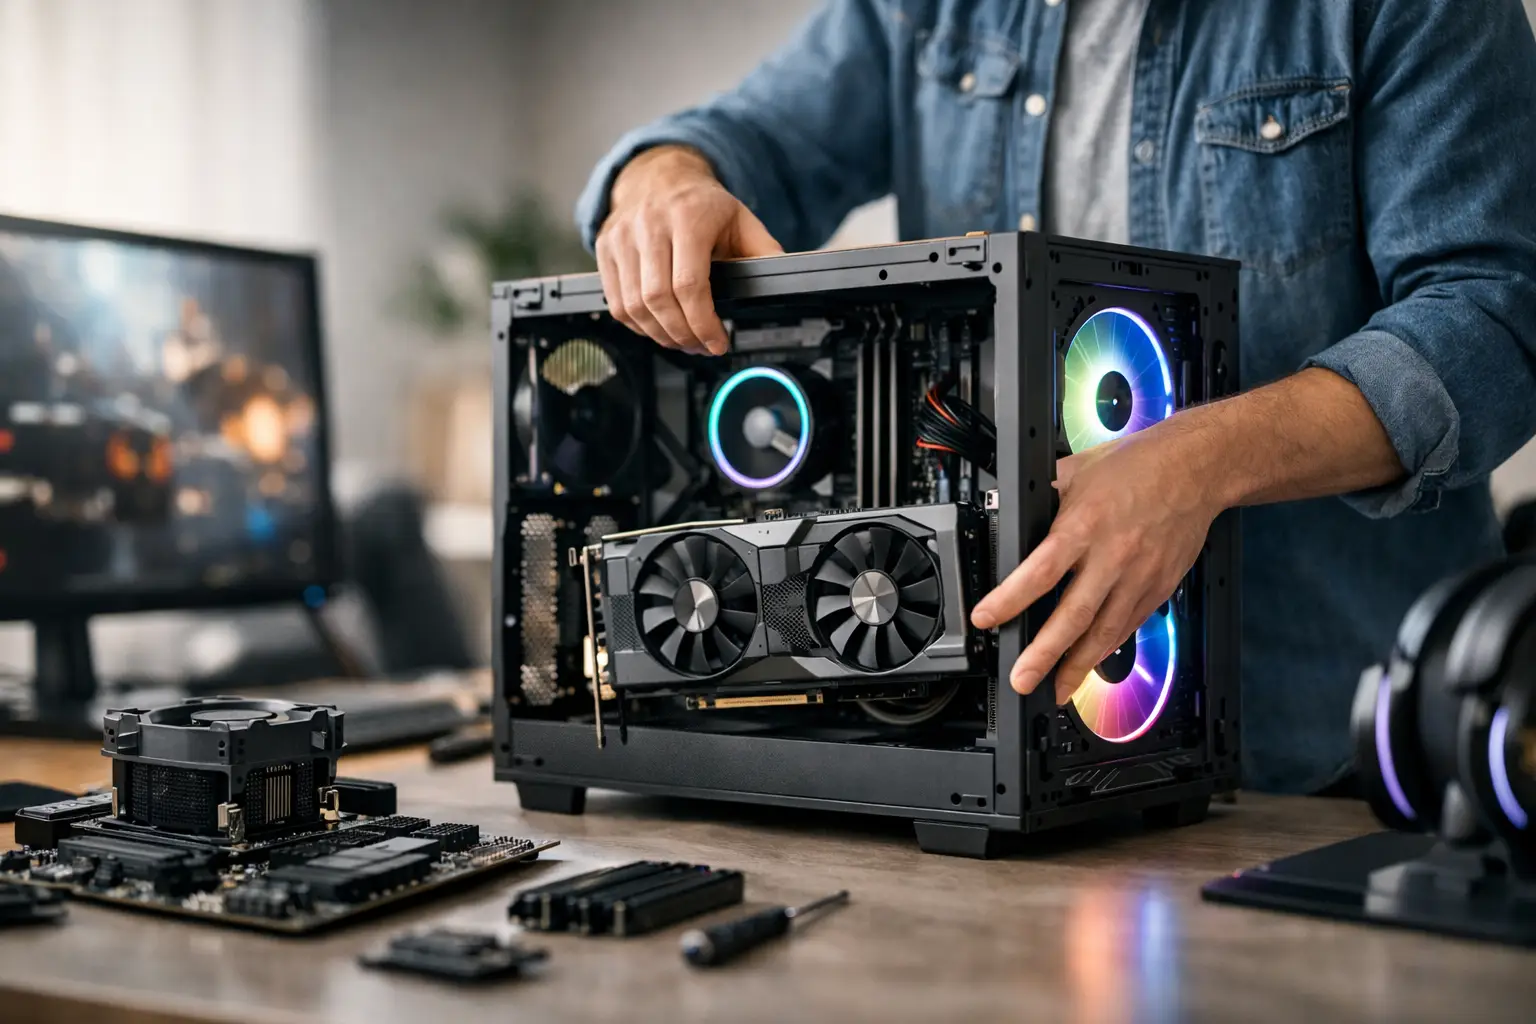
A gaming PC that stutters during a crowded match, runs out of storage after three installs, or has no upgrade path is usually the result of poor planning, not bad luck. Building your own gaming computer gives you control over performance, appearance, repairability, and where your money goes. It also means every part has to work together.
For most first-time builders, the job is less about advanced technical knowledge and more about making smart decisions before anything goes into the case. Choose compatible components, budget around the games you actually play, and do not cut corners on the parts that protect the entire system.
Start With the Games and the Screen
Do not begin by shopping for the most expensive graphics card you can find. Begin with the games you play and the monitor you own or plan to buy. A PC meant for esports titles at 1080p has very different needs than a machine built for demanding single-player games at 1440p or 4K.
Your monitor sets a practical performance target. If you have a 1080p, 144 Hz display, prioritize a build that can deliver high frame rates at that resolution. If image detail matters more than competitive speed, a stronger graphics card for 1440p may make more sense. Spending heavily on a GPU while using an older 60 Hz monitor can leave performance on the table.
Also think about the work the computer will handle outside of gaming. Streaming, video editing, schoolwork, music production, and business use can change how much processor power, memory, and storage you need. There is no single best parts list. There is only the right fit for your budget and use.
Build the Budget Around the Core Parts
The graphics card and processor have the biggest impact on game performance, but they should not consume the entire budget. A balanced system needs a dependable power supply, enough memory, fast storage, proper cooling, and a motherboard with the connections you need.
A practical gaming budget usually needs room for these major components:
- Graphics card (GPU)
- Processor (CPU)
- Motherboard
- Memory (RAM)
- Solid-state drive (SSD)
- Power supply unit (PSU)
- Case and CPU cooler
For many gaming builds, 16 GB of RAM is a reasonable minimum, while 32 GB gives more breathing room for newer games, multitasking, and background applications. An NVMe SSD makes a noticeable difference in boot times and game loading compared with an older hard drive. A hard drive can still be useful for large media files, but it should not be your only drive on a new gaming PC.
The power supply deserves more attention than it gets. Cheap, no-name units can cause instability, random shutdowns, or component damage when they fail. Choose a quality unit with enough wattage for your GPU and CPU, plus some room for future upgrades. Check that it includes the correct power connectors for the graphics card you select.
Check Compatibility Before Ordering Parts
Compatibility is where many first builds go wrong. A fast processor is useless if it does not fit the motherboard socket. Memory can physically fit but run at the wrong speed if the board does not support its profile. A large graphics card can be too long for a compact case, and a tall air cooler can prevent the side panel from closing.
Start with the CPU, then choose a motherboard with the matching socket and chipset. Confirm whether the motherboard uses DDR4 or DDR5 memory. These are not interchangeable. Check the board specifications for the supported RAM speed, number of storage slots, Wi-Fi capability, USB ports, and front-panel headers.
Case size matters too. Most builders use an ATX mid-tower because it provides good airflow and working room without taking over the desk. Smaller micro-ATX and mini-ITX cases can look great, but they require more attention to cooler height, GPU length, cable routing, and power supply dimensions.
Before purchasing, write down each part number and compare manufacturer specifications. Do not rely only on a product photo or a retailer description. A few minutes spent checking measurements and connectors can prevent days of returns and troubleshooting.
How to Assemble a Gaming Computer Without Rushing
Set up a clean, well-lit work area with enough space for boxes, screws, and manuals. A standard Phillips screwdriver handles most of the job. Keep drinks away from the workbench, and avoid building on carpet if possible. Touching grounded metal before handling components helps reduce static risk.
Install the CPU, RAM, and primary NVMe drive on the motherboard before placing it in the case. This is usually easier because you have room to work. The CPU should drop into place with no force when aligned correctly. If it does not, stop and check the orientation. Bent pins or socket damage can turn a simple build into a costly repair.
If your CPU cooler does not come with thermal paste pre-applied, use a small amount at the center of the processor. Too much paste can create a mess, while too little can lead to poor heat transfer. Secure the cooler evenly and connect its fan cable to the correct CPU fan header on the motherboard.
Next, install the motherboard standoffs in the case where needed. Never mount the motherboard directly against the case metal. Place the board carefully, secure it with the proper screws, then install the power supply, storage drives, and graphics card.
The front-panel connectors are often the most tedious part. These small cables control the power button, reset button, activity light, and front USB ports. Use the motherboard manual, not guesswork. A system can appear dead simply because the power-switch connector is on the wrong pins.
Cable Management Is About Airflow, Not Just Looks
A tidy build is easier to service later, but cable management is not only cosmetic. Loose cables can restrict airflow, touch fans, or make it harder to diagnose a problem. Route major power cables behind the motherboard tray when the case allows it, then secure them with the included straps or zip ties.
Make sure case fans support a clear path for air. A common setup uses front fans to pull cool air in and rear or top fans to push warm air out. The exact layout depends on the case, cooler, and fan count, but the goal is simple: avoid trapping heat around the CPU and GPU.
Do not stuff unused cables into a spot that blocks fans or presses hard against a side panel. If your power supply is modular, only connect the cables you need.
First Boot: What to Check Before Installing Games
Before closing the case, connect the monitor to the graphics card, not the motherboard video port. Attach the keyboard, turn on the power supply switch, and press the case power button. Fans spinning is a good sign, but it does not always mean the computer has completed its startup check.
If the system reaches the BIOS or UEFI screen, verify that the processor, RAM, and storage drive are detected. Enable the memory profile, often labeled XMP or EXPO, so your RAM runs at its intended speed. Check CPU temperatures before moving forward. High temperatures at idle may indicate a cooler installation problem, missing protective film, or a fan that is not connected.
Install your operating system from a properly prepared USB drive, then install motherboard chipset drivers, graphics drivers, and system updates. Once the basics are done, test the computer with a game or benchmark while watching temperatures and stability. Sudden restarts, screen artifacts, crashes, or unusually high heat are signs to stop and investigate instead of pushing the system harder.
Know When a Problem Needs Diagnostics
Some issues are simple: a loose RAM stick, an unseated GPU, or a missing CPU power cable. Others are not. A PC that will not post after every basic connection has been checked may have a failed component, a damaged motherboard socket, a BIOS compatibility issue, or a power rail fault.
Avoid repeatedly powering on a system that smells burnt, sparks, shuts off instantly, or was exposed to liquid. Those symptoms can cause additional damage. At EPElectrocenter, all diagnostics and repairs are performed in-store, including advanced motherboard-level work when a standard part swap does not solve the problem. Walk-ins are welcome, and a free initial evaluation can help determine whether the issue is assembly-related or a defective component.
A well-planned first build should serve you for years, and it should be easy to upgrade one part at a time. Keep your component boxes, receipts, and a record of the exact parts installed. If something changes later, that small amount of organization makes the next repair, upgrade, or troubleshooting visit much easier.